
A variation on something my father used to cook on special occasions, étouffée has origins in Louisiana, a place I've never been, but hope to visit one day. Feeling some need for comfort and sophistication all on the same plate, try this one on your palette:
Brandied Shrimp Étouffée with Leek
Ingredients:
Tomatoes 2 plum
1/2 a large Red Pepper
1 lbs Shrimp peeled, but leave the tails on
1 Leek
1/2 an onion or a 1/2 a cup of chopped
2 garlic cloves
4 slices of ginger
basil
cayenne
bay leaf
pepper
sea salt
water
fat, oil, lard (I used a bit of leftover beef fat after frying a large burger the night before) - many people use vegetable oil, but I am moving away from this because I have found animal fats to be better health-wise and better to work with on heat while things like olive oil are healthy but cooking with them is less than ideal because the heat ruins the health benefits.
1/2 cup of flour - you can use cornstarch or some other thickening agent - I think I will purchase some arrow root to experiment with it as some point.
1-2 ounces of Brandy
The Process:


As usual, I typically arrange all my ingredients out on the counter prior to cooking, meat, or in this case some frozen shrimp (gasp! I know, sometimes I use frozen seafood) should be brought out and left to come to room temperature prior to preparation.
 At this point, I start preparing the the pan, by heating it lightly. Vegetables are to be chopped, usually I will start chopping in the order that I will add to the pan, so that I can make better use of my time; for example, I will typically fry ginger and onions first, so they will be first to be chopped.
The mushrooms for this dish should be chopped lengthwise rather than quartered. With the red peppers, I cut them lengthwise into inch wide strips and then again diagonally, but much thinner, say about 1/2 to a 1/4 centimeter (I use two measuring systems, deal with it - My American brothers and sisters, lets make a deal, you learn metric and we will learn imperial - there is no need to argue anymore)


The leek, I will quarter lengthwise by cutting along the stem in half and then half again, then grab the whole lot, line it up and chop these lengths into rectangular chunks say a cm to a half an inch.


Cut the plum tomatoes (you can use other types if you prefer, but I had plum tomatoes in my fridge so I used them. I cut mind into quarters and then I cut the quarters into strips.
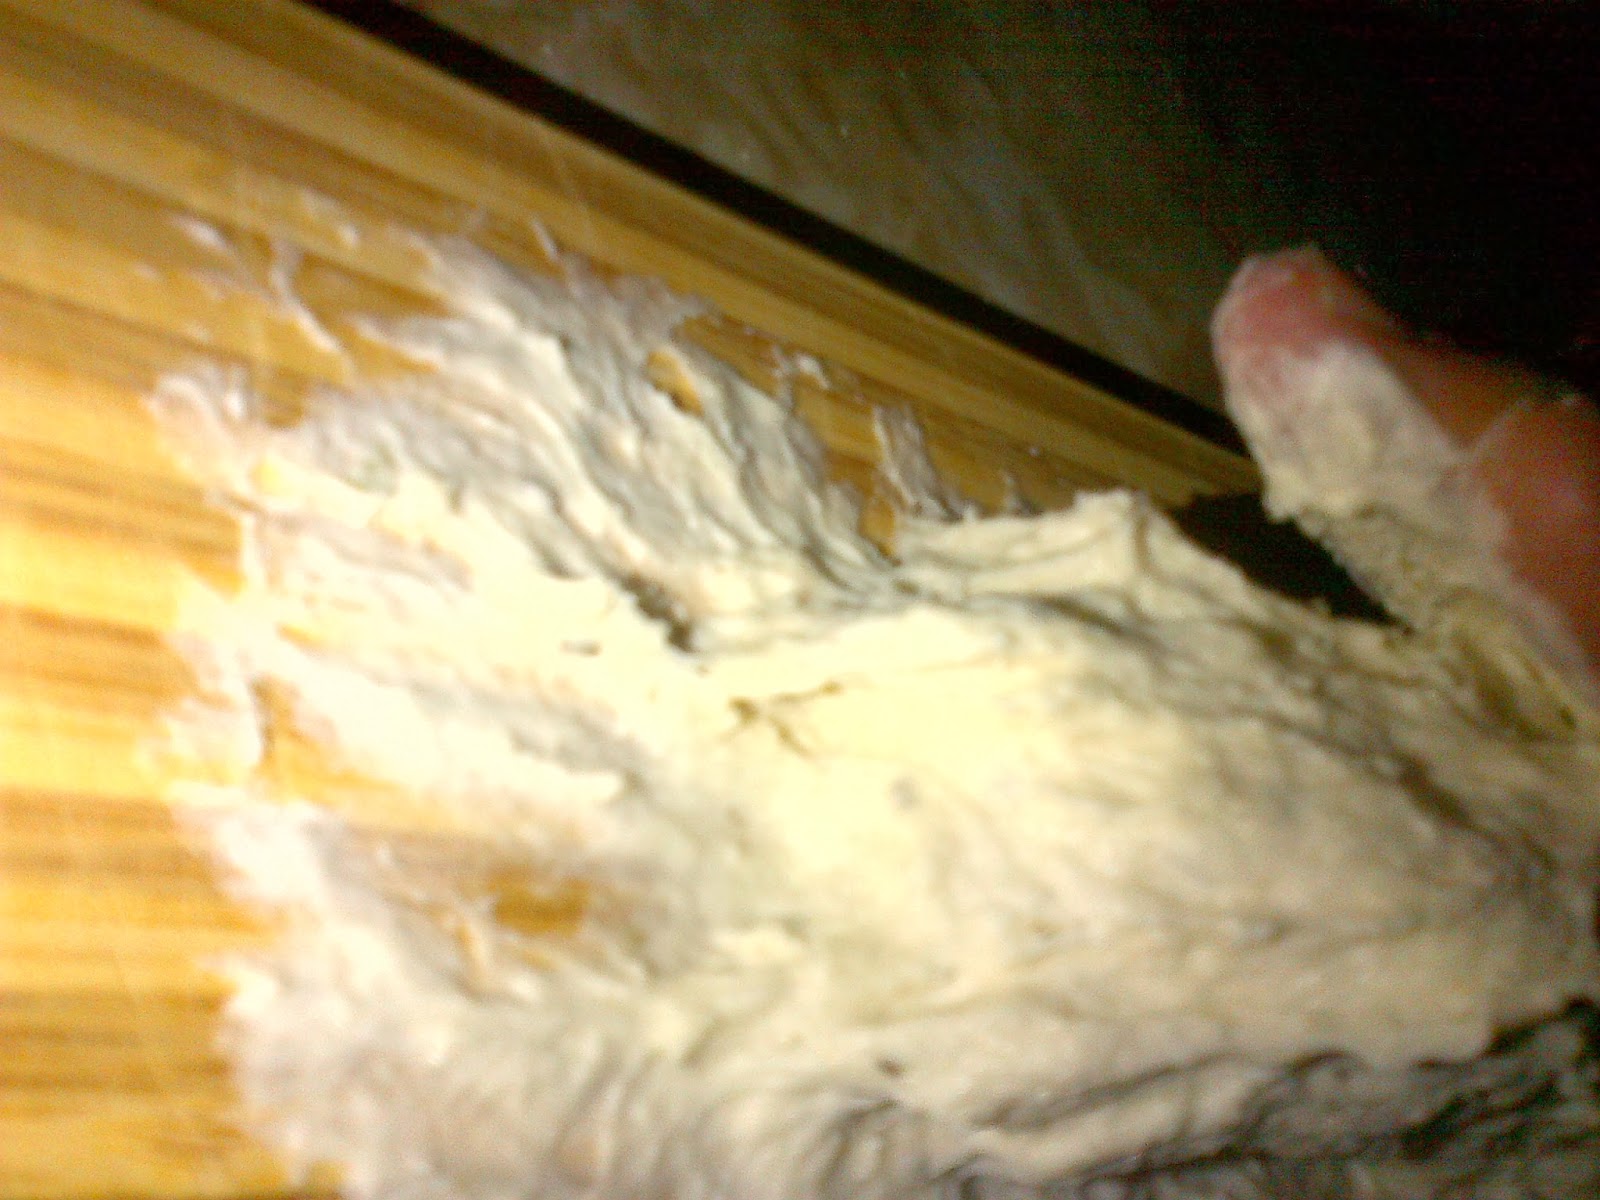
 Notice my messed up cutting board, it split a year or two ago but I did not throw it out and well, now I have two smaller, matching cutting boards. Anyhow, I have all the stuff chopped and laid out and ready to go. If you know what you are making and you have done it dozens of times, then there is no need to be this prepared prior to cooking, and you can multitask a bit more. I do find this allows you to concentrate on what you are doing and have less mistakes. You do not want to be that person that lets the onions burn while you muck about chopping a tomato that is to be added later.
At this point, the pan should be heated a bit and your fat should be added to the pan. First add the slices of ginger, heat should be on medium (I use gas, so I cannot provide a temperature). Leave the ginger and have your chopped onion ready to go into the pan, about a minute or two later.

Now I did mention burning, because burnt ginger and onion tastes much worse and in some kitchens this gets thrown out because you will be messing up the flavors from your more expensive ingredients. With that in mind, allow your onions to fry, they do not need to be constantly stirred, but at the same time, the individual pieces need to be moved around to get coated in the fat and cooked evenly. Ideally you want the onions slightly caramelized, but nothing to go black.

After about a minute or two, add the chopped leek, then stir, about a minute or two later, add your garlic. Then add mushroom a bit after that.

Then add the red pepper, and then the tomatoes. I will typically start salting the food as it sautees. I found a great trick a while back while watching a cooking show where the cleaver chef person was holding the cutting board above the pan and using their knife to shovel the ingredients into the pan, which makes a heck of a lot more sense than grabbing this stuff with your hands and putting it into your pan in some cases, but whatever works for you.

Again, keep stirring every once in a while, you can be slightly more relaxed about this as the mushrooms, the leek, and the pepper release a bit of water into the mix.

 Then the spices with the exception of the bay leaf. Stir this fairly constantly so everything cooks evenly and nothing burns, then cover the pan, allow the vegetables to sweat down a bit, then add 1/2 a cup of water, and cover. Bring to a gentle boil and then reduce the heat to a simmer. Now if you really want to do a proper job, I forgot to do this, take your shrimp peel, put it in a small covered pot with water and simmer it to make shrimp stock and use this instead of water, or use chicken stock, but the former is preferable.
 Wait about 20-30 minutes, and then add a bit more water, to make sure all the vegetables are swimming, but not drowning.
 Add the brandy at this point and allow to simmer for another 20 minutes. Typically you can stop the heat for an hour or so to let the flavours marry.
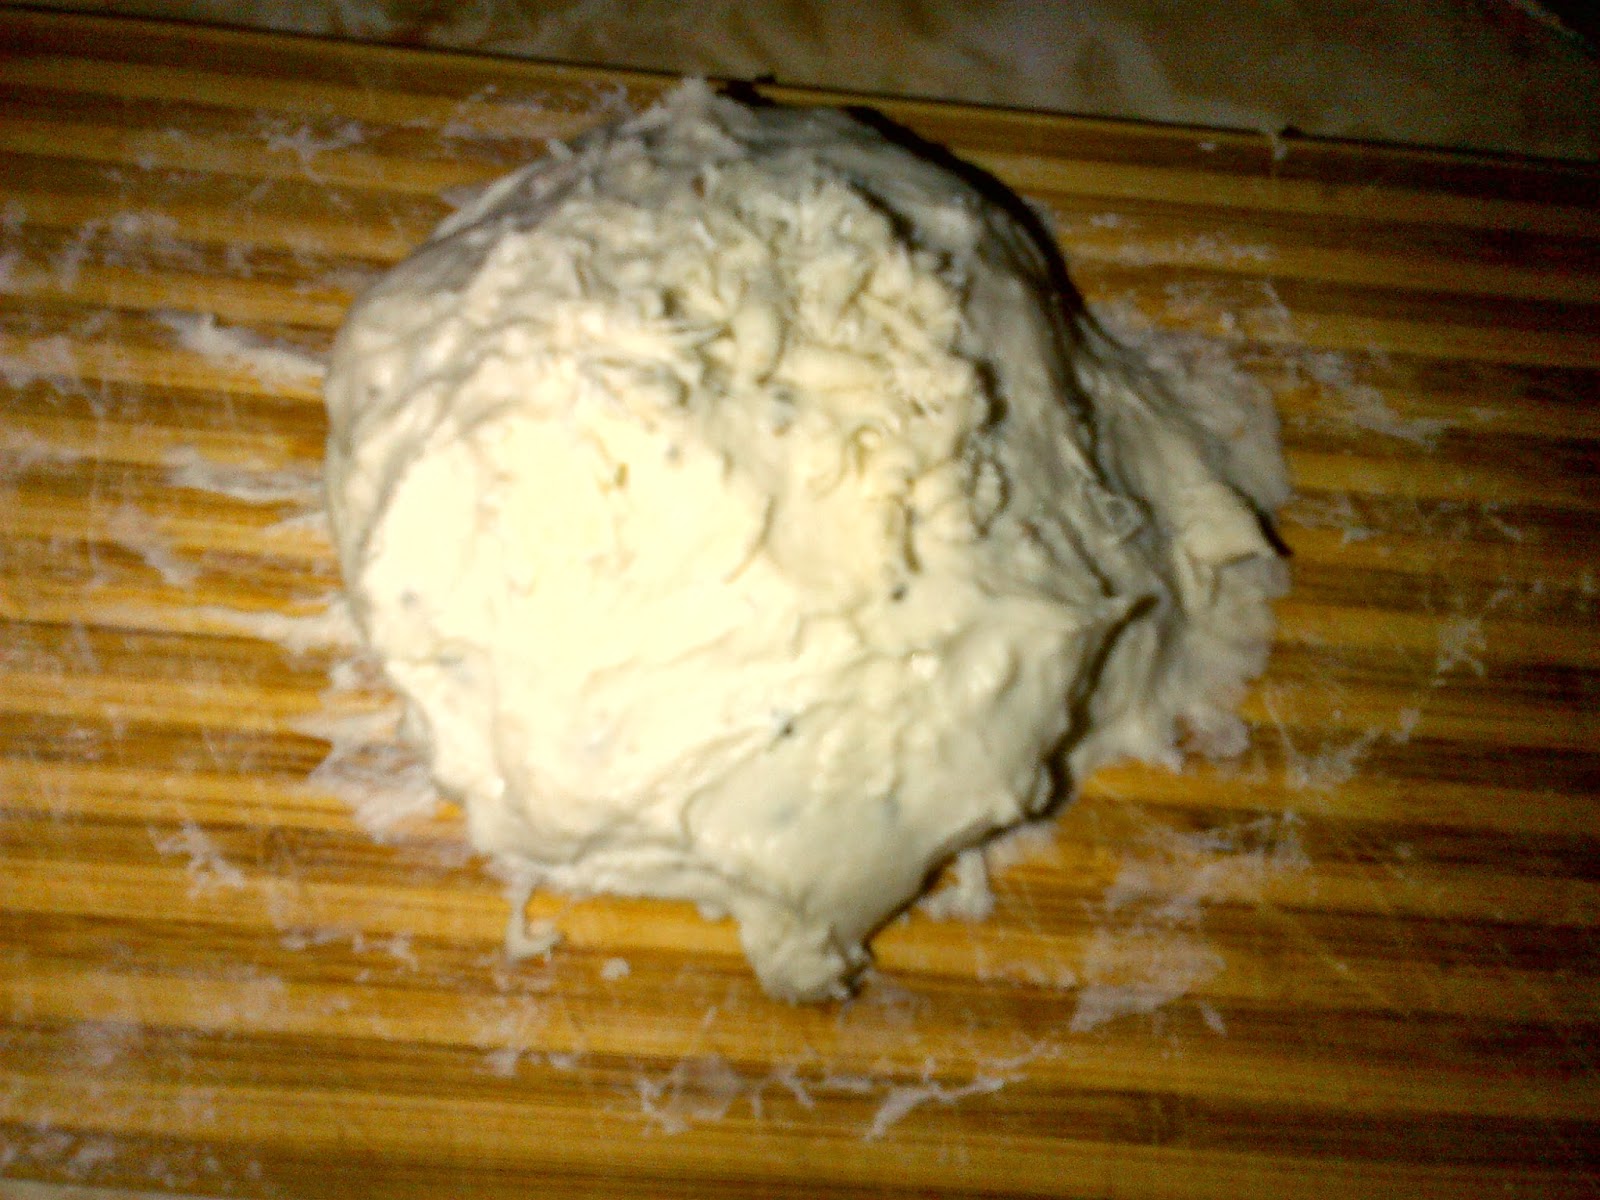
Add about 1/3 of a cup or less, depending on how thick you want the sauce, preferably when the sauce is relatively cool, stir the flour in thoroughly so you don't make dumplings, rather you want a roux. Add the shrimp into your roux, and simmer for about 30 or so minutes to allow the shrimp to cook with the lid on. If you are preparing side dishes for this, now is the time to get to it. I typically serve this on a bed of basmati rice, so I would be making this now.

Do not be that idiot that cooks their main dish to perfection and then leaves it to get cold while they mess about with deciding "oh, I should make the rice now" or do I boil potatoes, or maybe I should make a salad. Cooking is a choreography of preparation, chopping, heating, and then synchronization of the times when your various components will be finished. I lived with a girl once that decided to make hotdogs and fries for dinner one night, and then I nearly lost it (I was not mean or visibly upset, more flabbergasted and almost tongue tied) when she made the hot dogs, put them in the buns, and only then decided to start making the fries. For some people this might be unnoticeable, but my whole attitude is if something is worth doing, it is worth doing right. To her credit, she learned that lesson and became a slightly better cook in the future.
 The main is almost ready and the rice should only take a few minutes. One thing I noticed about rice, is that it does not need to boil through the entire process. How I make my rice, and this works with most varieties of basmati or jasmine, figure out how much rice you want, visualize in your pot, then put half to a 1/3 the amount in the pot (it will need a lid), then put in enough water to cover the rise and then some. What I do is the very scientific method of taking my thumb, putting the tip of my thumb at the level of the rice and topping the water so that it extends to the level of my cuticle (where the nail starts), and then put the pot on a high heat, with the lid off. Add a sprinkle or two of salt, and you can add saffron - I lost mine in a move, and have yet to buy more. Once the rice starts to boil, then lower the heat to minimum, and cover the pot once the boil has subsided, otherwise it will boil over and make a mess. Let the rice cook for about 10 or 15 minutes (you can usually smell once it is done). Most of the moisture should be gone, and test the rice to see that it is soft and ready, then just turn the heat off completely and leave the pot covered and it will hit a perfect temperature and moisture level in the next five minutes or so - I do not like my rice to be hot, but rather warm.
Meanwhile the main dish, has stewed to perfection. Often I will leave the dish covered and allow to sit for a few minutes with the heat off just to get down to an edible temperature - not cold - not lukewarm, but still lightly steaming.


The main sauce should be a rich brown colour with a hint of orange, and you will notice the red peppers are still red and should pop nicely. The shrimp should have a bit of red in it indicating it is cooked thoroughly but not overdone.


The plating of this dish is very simple, but what I found works the best is to have a heated plate - my dad would use the microwave, but what I do is put the plates in the oven on minimal heat for a few minutes. Scoop the rice onto the plate to form a raised bed of rice, obviously you can adjust your carb portion here.

Then, once the rice is there, take a serving spoon and scoop a healthy amount of your etouffee over the rice, but leave a border of rice at the edges uncovered for presentation.


 If you want to kick this recipe up to the next level, do what I forgot to do when I cooked it this time, and take your shrimp peelings and boil them in a bit of water to make shrimp stock and roll that back into the étouffée and use less water.
 Weather it is spring, summer, fall or winter, this dish will please your tummy and will impress anyone you are cooking for, and it is not that hard if you break it down into steps and pay attention to what you are doing, so why are your ordering takeout or having a frozen pizza when you can make this!


